Windows Multipoint Installation
Jump to navigation
Jump to search
Goals
Install the appropriate driver for the RAID card
One very important detail of the multipoint install is that you must provide the driver for the HP RAID controller that is managing our disks. Without this driver, the windows installation will not be able to see any disks on the server.
Perform a base install of Windows Multipoint Server
This is the first step of many to confiure this server. We'll boot from the Recovery Drive, get the install going, then let it reboot.
Procedures
Choose the boot device
- See Choose a boot device
- You want to boot from the Recovery USB drive
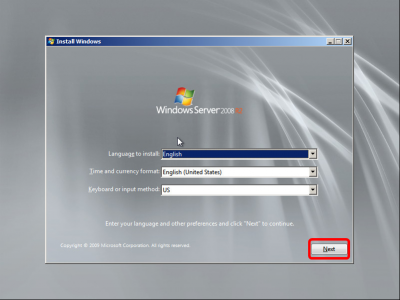
Begin the install
.png)
- The defaults are fine, of course
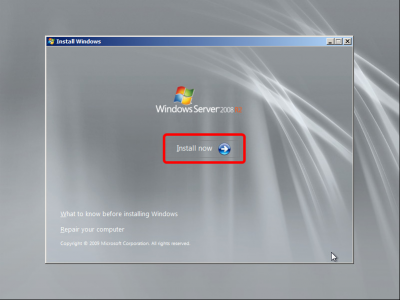
Install Now
.png)
- If you were repairing an install, you can take a look at the other options, but for now just click Install Now
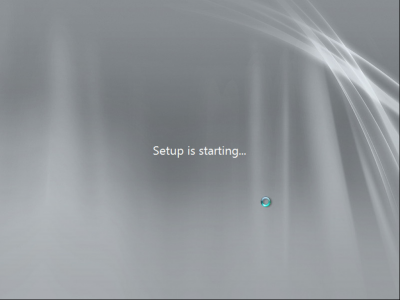
Starting
.png)
- Starting...
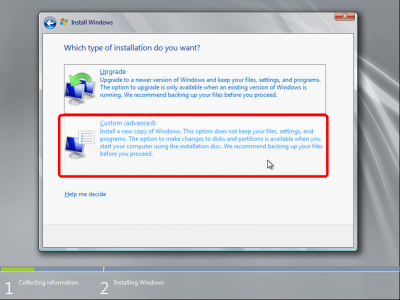
Choose Custom Install
.png)
- Choose Custom
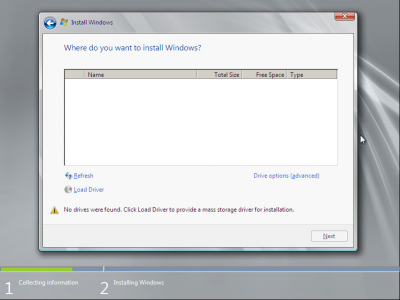
No disks found
.png)
- When you get to this point the installer is telling you that it didn't find any disks to install to
- you need to Load the drivers for the RAID card
- Click Load Driver
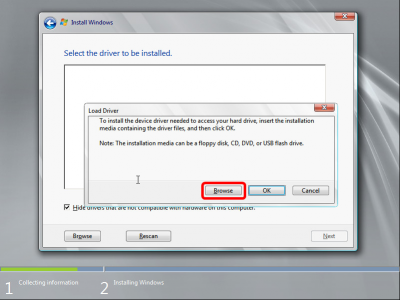
Browse for the files
.png)
- Windows is giving you the opportunity to put in a CD or other removable media.
- Our recovery drive is already inside, so just press Browse
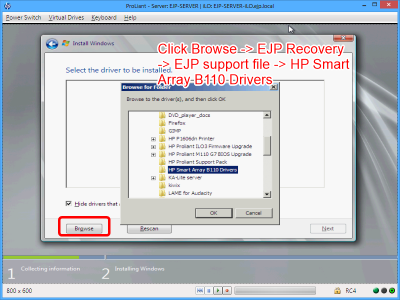
Load a driver from the recovery drive
.png)
- Browse to the HP Smart Array B110 Drivers on the recovery drive
- Click OK
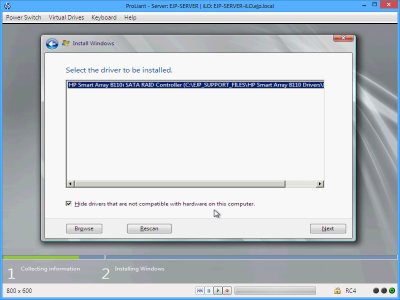
Choose the HP Smart array
.png)
- The Hp Smart array should be the only choice.
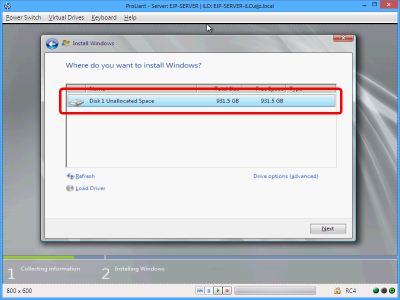
Choose the disk to install onto
.png)
- Just so there is no Con Fusion, make sure you have removed the Backup drive. You want to make sure that Disk 1 is the Mirror set.
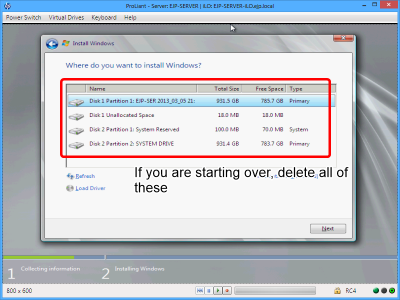
If you are starting over, it might look like this

- If you are starting over completely, you might see a disk arrangement like this
- Delete all the partitions, remove the backup drive, and reboot into the process again
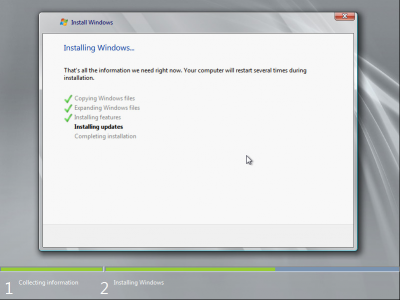
Wait for the install
.png)
- waiting...
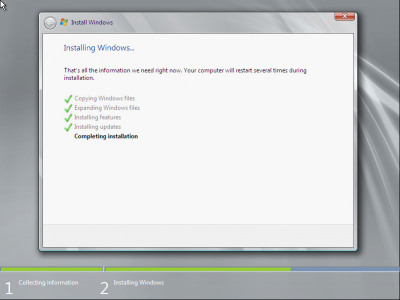
Completing installation
.png)
- ...
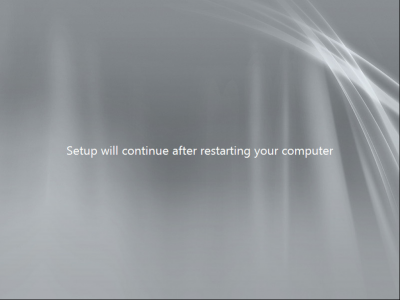
Restarting
.png)
- We'll pick up at Windows Multipoint Installation Continues After Reboot