Managing Groups
Jump to navigation
Jump to search
Goals
This page will show the procedures for performing various group management operations.
Display group members
.png)
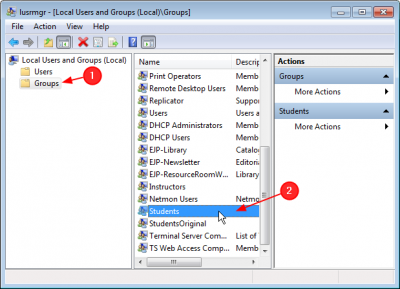
- Click on Groups ; Observe that the list of groups appears in the right pane
- Browse to group you want to inspect and Double click it
.png)
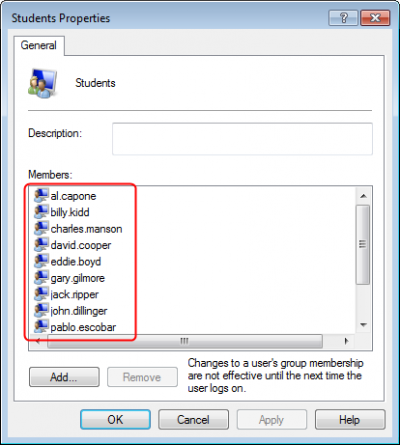
- Observe that the name of the group Students appears and beneath it, the list of users in it.
- Notice that in this case, no description of the group is given because the name of the group makes its membership obvious.
Creating a New Group
Don't we need picture to show how to find NEW GROUP?
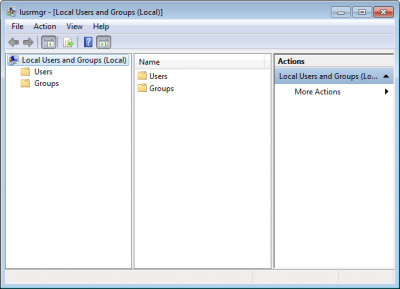
- Open the Local User Manager
- Click on Groups
.png)
then Right-click on Groups and select New Group.
Alternatively, click More Actions under Groups in the far right pane; then select New Group
.png)
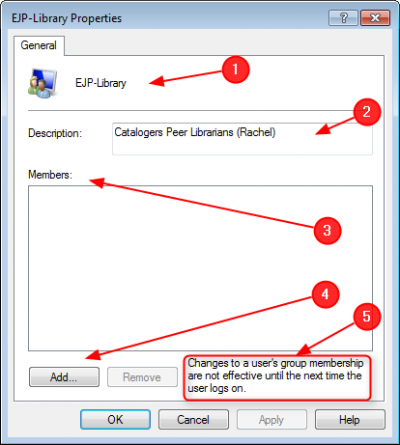
- Type in the name of the group. In this example, a better name would be EJP Student Librarians
- Type in a brief description of the function of the group and who it reports to
- Observe the empty members box
- To add members, click Add
- Note: before the changes to a user's group membership are effective, the user needs to log off and log on again.
.png)
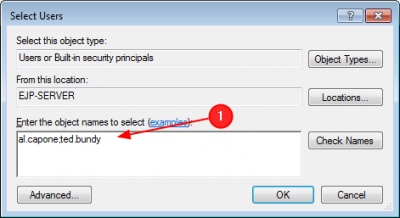
To select users for the group, type in the user name (firstname.lastname).
- To add more than one user at a time, separate the names with a semi-colon.
.png)
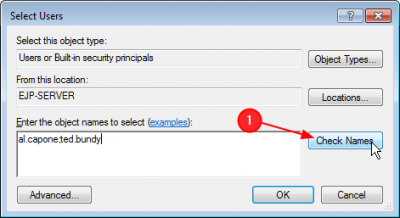
Next, click Check Names so the computer can verify that the user exists as typed in the database.
.png)
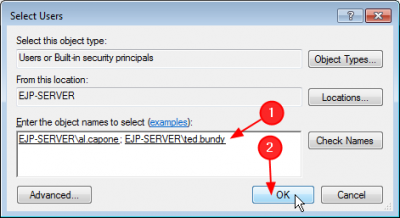
If the user name is correct, it will appear as shown.
- Click OK
- If it is not correct, re-type the user name and click Check Names again
.png)
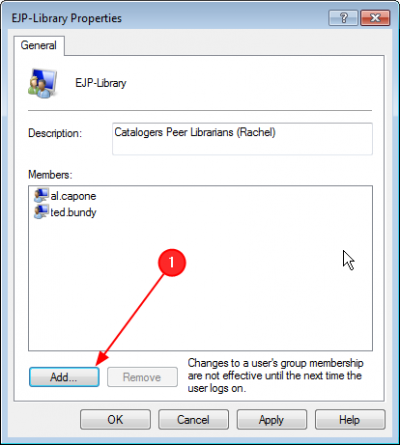
After clicking OK, the two users will appear as members of the group.
- To add more, click Add and repeat the process, typing in more user names, checking names, clicking OK.
- To remove a user from the group, select the name and click Remove